Having it packed by a Commercial Shipper
If you decide you want to have a commercial enterprise pack and ship your piece(s) for you, know that they will handle every aspect of the packing. That’s the only way they will accept any liability for the piece(s). All you have to do is deliver them the piece(s) and fill out their paperwork with our shipping address. We do suggest that you enclose each of your pieces in its own soft plastic bag and do not let them remove it!
Packing it Yourself
Our method of packing is one approved by UPS. We use this method because it is also recommended by all insurers. Step #1: Always wrap your piece in a soft plastic bag so that nothing else touches it directly! Part of the insurance recommendation is that you ship each piece in its own internal box. Lids should be bubble-wrapped separately but included in the same internal box as their associated pots. Multiple piece units (like nativity sets) should have each piece bubble-wrapped separately but all be taped together in a single ball and that ball go in one internal box (this makes insurance claims for broken pieces possible, as long as a single internal box contains all the pieces of a singly-priced unit). Then the internal box needs to go into an external box. This external box is critical, especially should you need the services of an insurance adjuster after the box has been put through machinery and the hands of many people.

This is the sample piece we are going to pack for this demo.
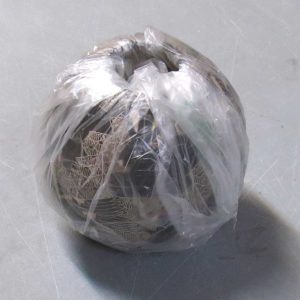
The first step in packing a piece for shipping is to isolate the piece from everything around it. Put the piece in a soft plastic bag large enough to securely close around it. You don’t want anything else to directly touch the surface of the pot.

Then wrap the pot in a wrap of small-cell bubble wrap (smaller cells are softer, tend to have a longer lifespan and don’t have as much potential to be harmful as larger cell bubble wrap). You’re going to wrap this around the poles of the piece and you want to have several layers of bubble wrap on every surface.
Then you’re going to do a similar wrap of small-cell bubble wrap around the same poles of the piece but turned 90 degrees so that when done, the piece has almost disappeared in the bubbles.

Final wrap of bubble wrap: this one goes around the equator of the piece and when done, every bit of the piece is hidden behind several layers of bubble wrap and nothing can touch the piece.
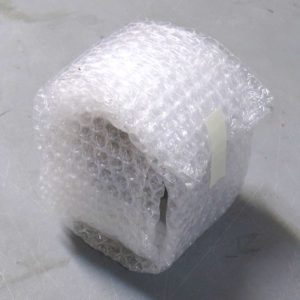
Measure the wrapped piece and select an internal box that is at least 2 inches larger on all sides. Tape the bottom of the box well, use 2 inch wide packing tape.
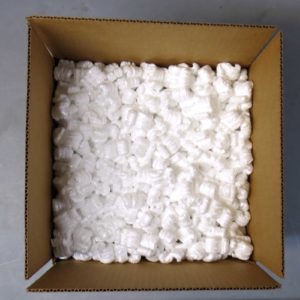
Then drop about an inch of (preferably environmentally sane) soft packing material into the bottom, put the wrapped piece in and fill the box with more material, enough that when you close the box, there’s a bit of positive resistance to the closing. Not too much because that might break the piece. Not too little because traveling down the road in a semi will shake everything down and the piece will work itself loose. A bit of positive resistance is just right.
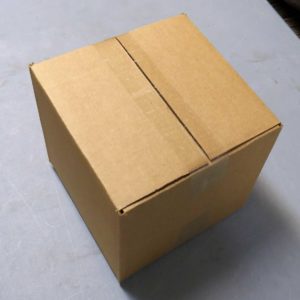
Tape the box shut. The internal box should look like this when done.
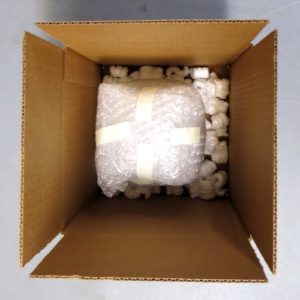
Select an outer box that is at least 4 inches larger than the internal box in all three dimensions. Example: if the inner box is 12 inches by 12 inches by 12 inches, the external box must be 16 inches by 16 inches by 16 inches. Again tape the bottom of the box, then tape the bottom seams along the outside of the box. When taping these seams, extend the tape around the corner at least 6 inches. Press that tape down tight and turn the box over.
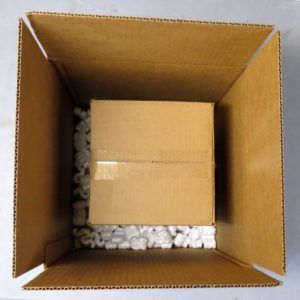
Drop a couple inches of soft packing material in the bottom of the box and set the interior box in place in the center.
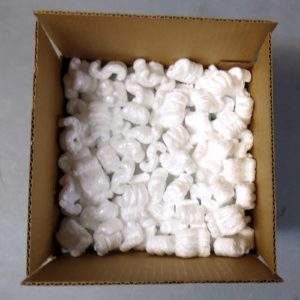
Then fill the box with more soft packing material, again with just enough to make a positive resistance to closing the box. The external box can take a bit more pressure in the closing but you don’t want to leave too much of a dome on the closed box.

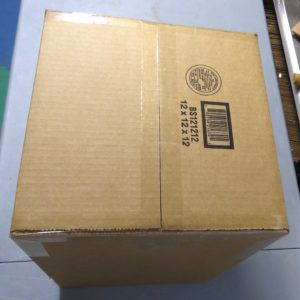
Tape the top flaps shut and tape the seams. Add Fragile markings to 5 sides of the box (the bottom isn’t necessary but sides and top are) and head for your chosen shipper’s office with our shipping address in hand.